LED strip controller
With the Wi-Fi LED strip controller, up to 3 smart LED strips (WS2811, WS2812B, WS2813, WS2815) can be controlled. The controller can drive the LEDs of WS2815 / WS2812B LED strips individually, so each LED can even light in a different colour. That is why any animation / light show can be created and played back with this device. The controller can also treat the 3 LED strips as one logical unit, so one strip can continue an animation started on another.

The controller also has an LED that indicates the Wi-Fi connection status. In addition, the first few LEDs of the LED strip light in the same way. The LED colour is interpreted as follows:
| Colour | Meaning |
|---|---|
| Red | Not connected to Wi-Fi |
| Blue | Connected to Wi-Fi, cannot reach the server |
To factory-reset the controller, press and hold the reset button on the device.
Configuration
- Add the LED strip controller to a room with the Add new device button. This is a Smartive device, so select the Add Smartive device option.
- After tapping this menu item, Smartive lists the devices detected by the app.
- Select the device you want to calibrate, then in the window that appears select the Wi-Fi network you want to join.
- Enter the Wi-Fi password, then tap OK. Smartive then tries to connect the device to the Wi-Fi network, and if it succeeds, it navigates to the Add device manually screen.
If the app cannot find it this way, you can connect it from outside the app. The steps are as follows:
- In the list of available Wi-Fi networks, find the LED controller (its name is "SML-...").
- After you connect, this automatically opens a browser window.
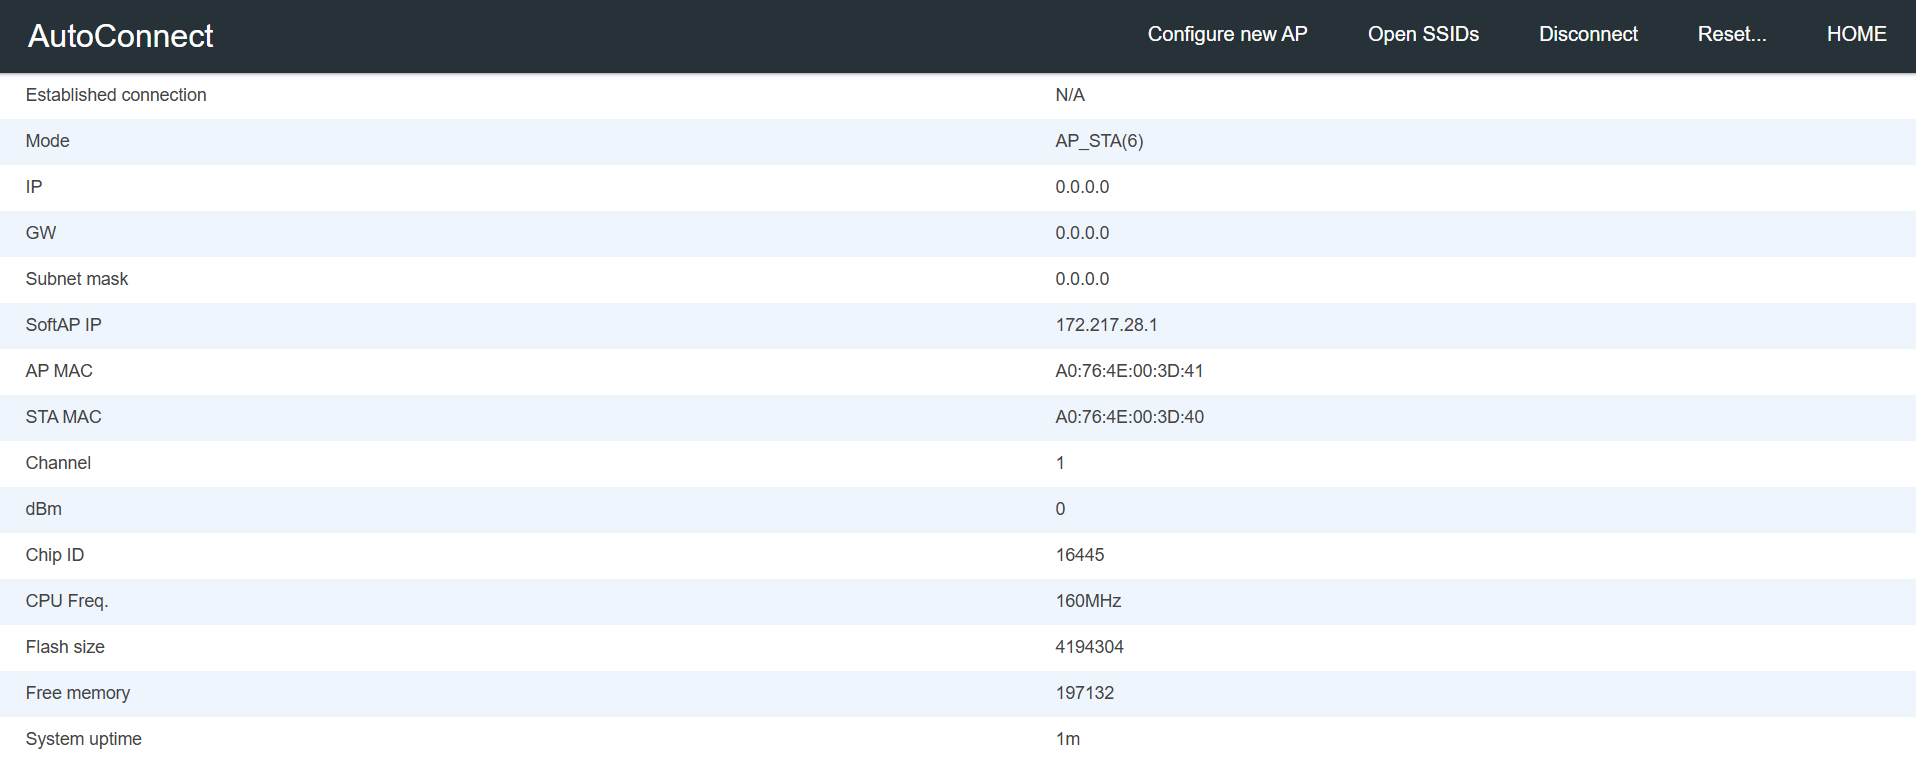
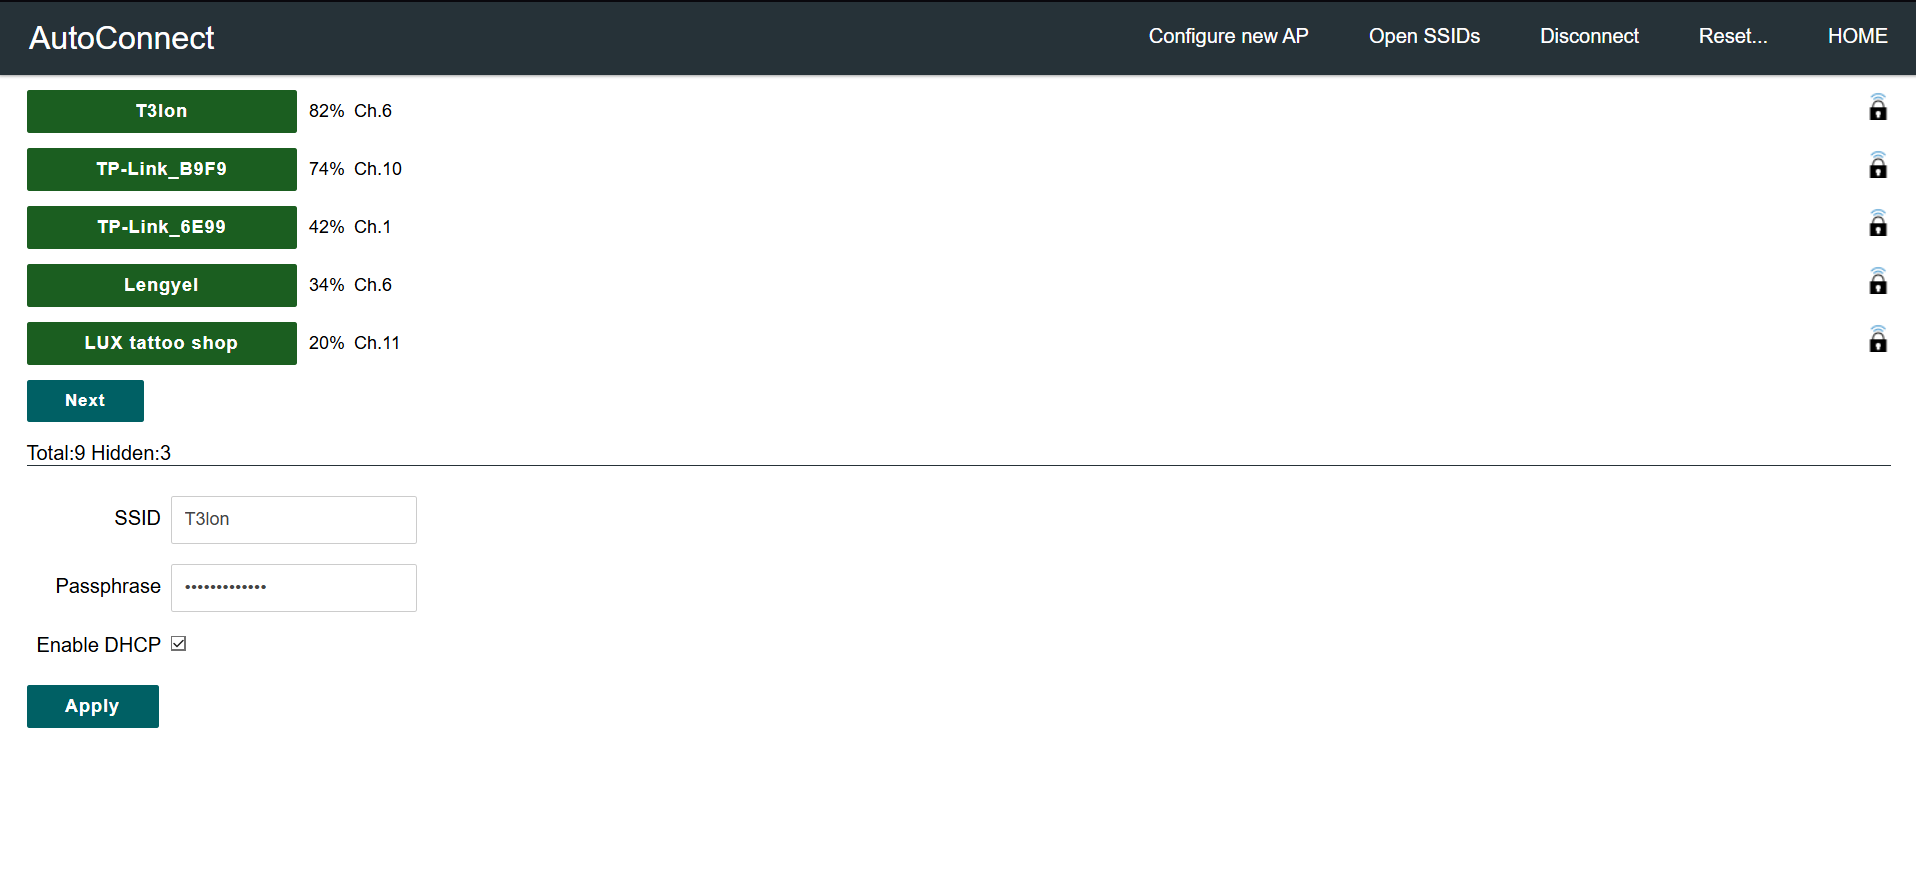
- Here select the Configure new AP menu item, then on the next page select the Wi-Fi network you want to join and enter the Wi-Fi password.
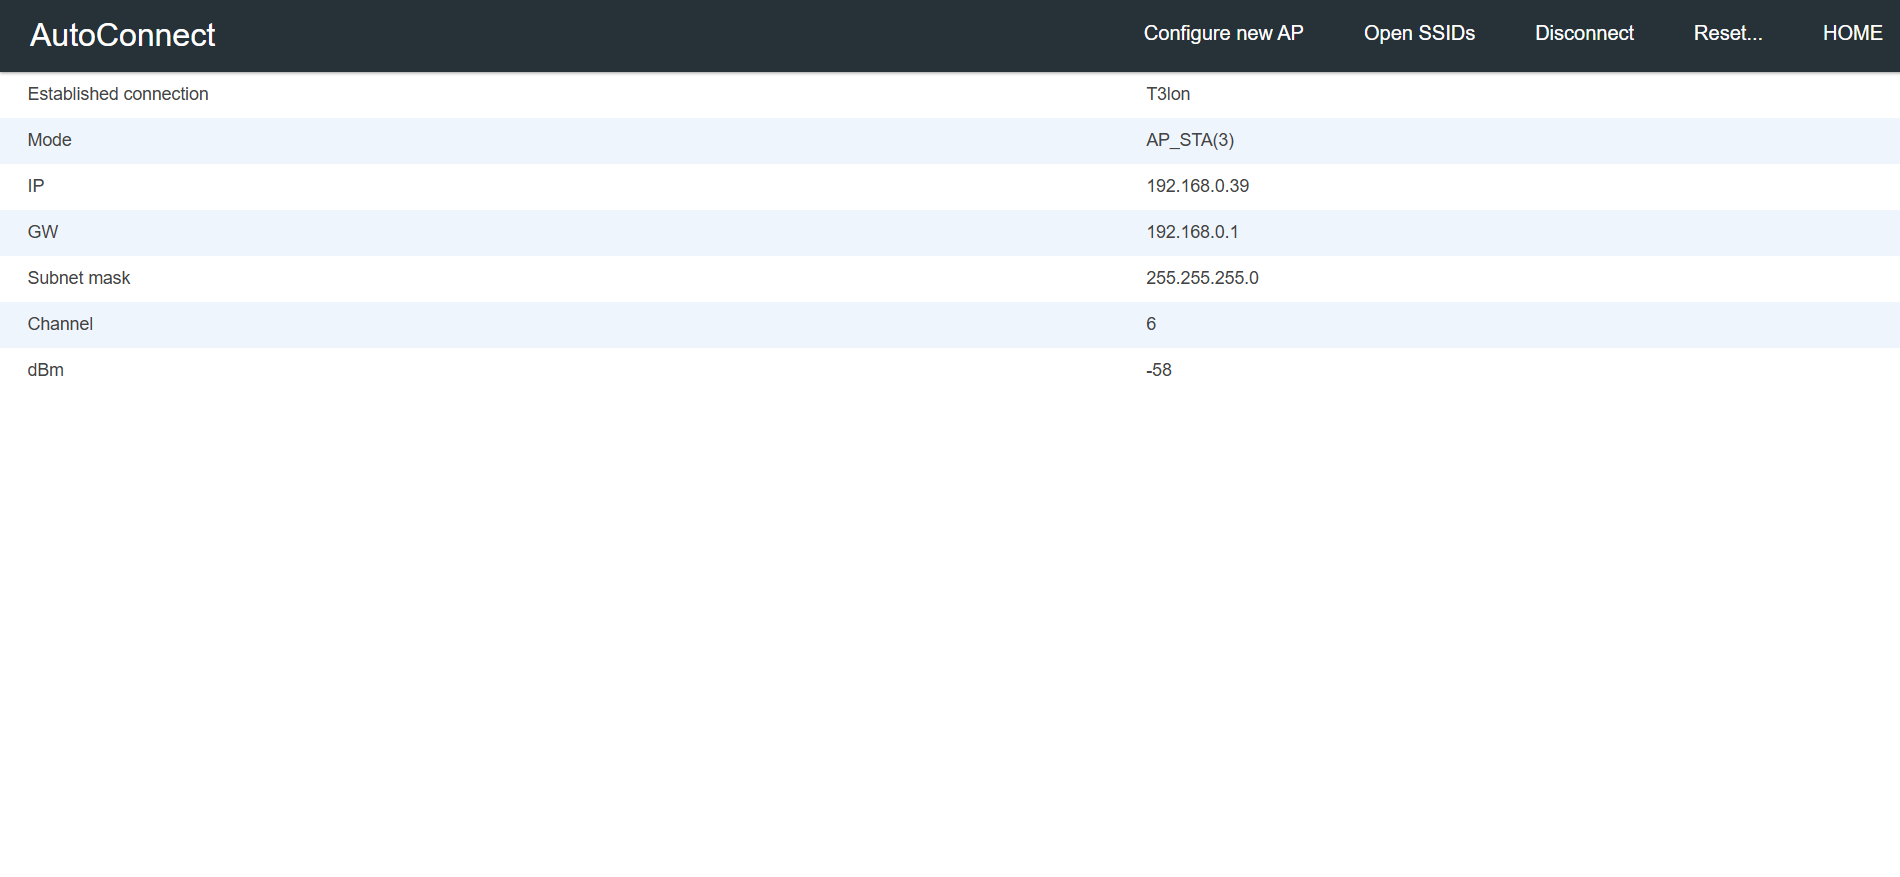
- If the connection was successful, a new page appears in the browser showing various network details.